Tutoring Groups
Groups
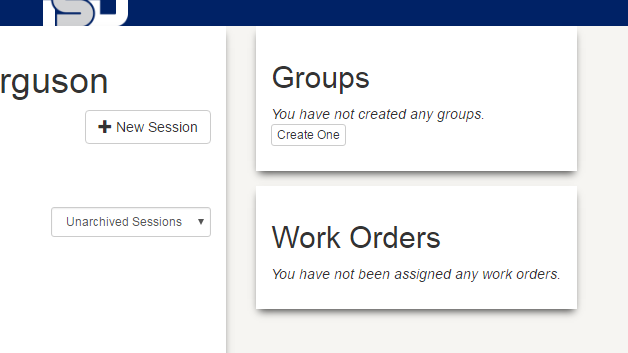
The groups feature is most useful when you know you will be tutoring the same students regularly. By creating a group with those students, you'll be able to quickly time those students into a tutor session without having to search for each student. All tutors have a Groups section on their dashboard page.
Groups Management
The group management section of the tutoring dashboard allows you to create new groups, modify existing ones, and delete groups that haven't been used in a tutoring session.
Creating a new Group
- To create a new group, click the 'Create One' or blue 'Plus' button in the Group section of the dashboard.

- An 'Edit Group' window will appear. You are required to name the group.

- Click Save to continue.
- After the group has been saved you'll be taken to the group management page.
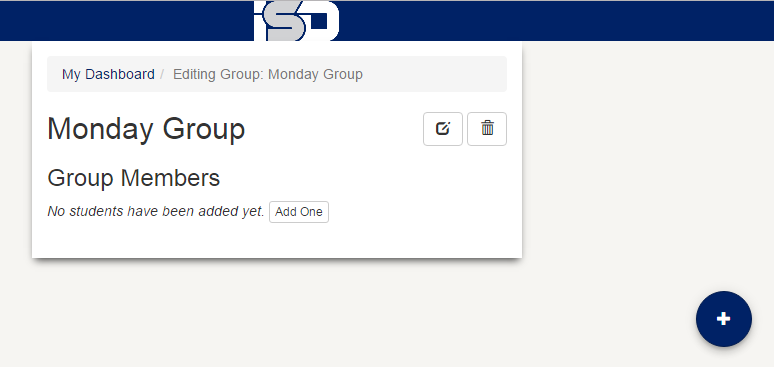
- Use the blue 'Plus' button in the bottom right corner of the screen to open a student search box.
- In the search box, type in the name of the student you wish to add to the group. The search will commence automatically, shortly after you stop typing. Note: It is recommended that you only type a few characters of the student's first or last name. You can also filter the search to a specific school to limit your results.
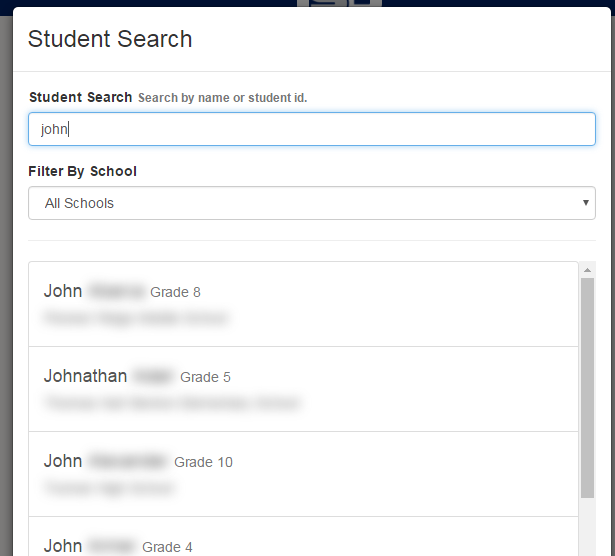
- Once you see the student listed, simply click on their name and they will be added to the group.
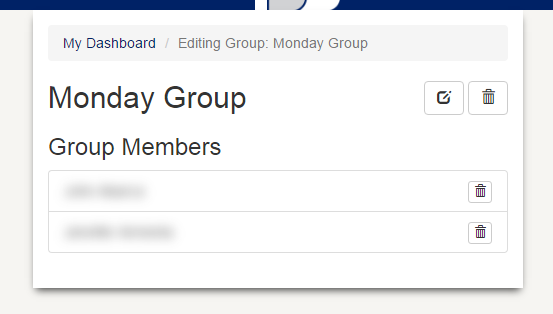
- You can remove students by clicking the button with the trash can icon to the right of the student's name.
Deleting a Group
Groups can only be deleted if they have never been associated with a tutor session. If there is a button with a trash can icon on the group management page, the group can be deleted.